Protect your grill and grates from moisture and harsh conditions
If you don’t do anything else, do this. Start the grill and get it to high temperature for a while, until any residual food burns off. This can take about 15-20 minutes. Once the grates are hot, use your grill brush and scrape anything left on the grates. (Refer to your grill manufacturer’s website for the best way to clean your grate’s material. Porcelain-coated and stainless steel grates can get scratched moreso than cast iron. it may be the same for aluminum, as well.) Some sources recommend oven cleaner to clean grates, but for ManGrates/raw cast iron, use the method below.
For cast iron grates: After scraping the grates with the brush, turn off the grill (or let the charcoal burn out) and while the grates are still a bit warm, take a rag and dip it in vegetable oil—avocado oil has the highest smoke point. Using tongs, rub the oiled cloth on the grates, periodically dipping it in more oil. The oil settles into the pores of the iron and will help inhibit rust from forming.
If your area is very snowy and wet—and if you don’t plan to grill until spring—store the grates layered in towels or newspaper and place in plastic storage containers in the basement or garage.
Ash and food debris collects on the bottom of the grill. Put on some rubber gloves and pick out what’s in there. If you have a shop vac, that can expedite this quite a bit after you loosen things with your hands. If your grill has lava rocks, it’s probably a good time to ditch what’s in there and get all new for next year.
Wrap the burner unit in a plastic bag to prevent spiders and insects from nesting inside the tubes.
Using a degreaser spray throughout the summer is great for regular cleaning. For end-of-season cleaning, hot water and dish soap is perfect (Dawn is particularly good—and mild—at cutting through grease.) Wipe down all surfaces and allow to dry. Some people even use baking soda to polish the outside of the grill and get it shiny. There are several degreaser sprays and cleaners on the market specifically made for grills. Just read the label to see if it’s compatible with the finish on yours.
Do a visual inspection of your knobs and temperature gauges. Check all the hoses for cracks and holes.
Most people will keep their grill outside. Spend the $30–$40 to get a good grill cover that can fit well and be secure even in high winds. This will ensure rain, ice and grit won’t get into crevices and trash your grill a lot quicker. Just make sure the cover doesn’t touch the ground so that any moisture inside is able to escape.
If you do store your gas grill inside a garage or structure, remove the propane tank and keep that outside—a small gas leak could potentially cause an explosion. Simply cover the gas line opening with a plastic bag to prevent insects from nesting inside.
Check out these videos for more detailed, step-by-step instructions on seasoning ManGrates.
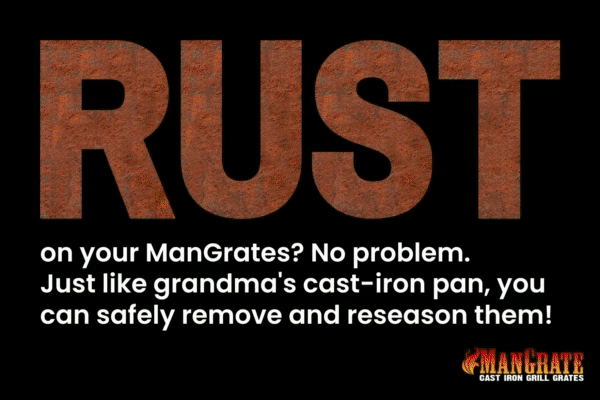
You can easily remove rust on the grates.
If your ManGrate seasoning has worn off or rust has developed on the grates (which can happen if moisture gets into your grill), the grates need to be properly re-seasoned. Just follow the instructions above to re-season your ManGrates or see the step-by-step process shown below. We purposely allowed ManGrates to rust so we could demonstrate how simple the re-season process really is. Nothing has been photographically enhanced. Please note that any rust dissolves and burns off during this re-seasoning process.
Season all sides of the grates.
Occasionally we hear of grates having a surface “scaling” issue, where flakes of the iron are coming off. This is a result of oxidation of the iron at high temperatures, where the top portion of the grates were seasoned, but the bottom and sides were not. The unseasoned areas of the grates deteriorate from moisture getting into the pores of the iron, resulting in irreparable damage to the grate itself. PLEASE season all sides of the grates. It is really easy to do, particularly when you use a spray oil. Over time and use, the cast iron is extremely hardy, just like cast iron skillets that have been passed on to generations of family.